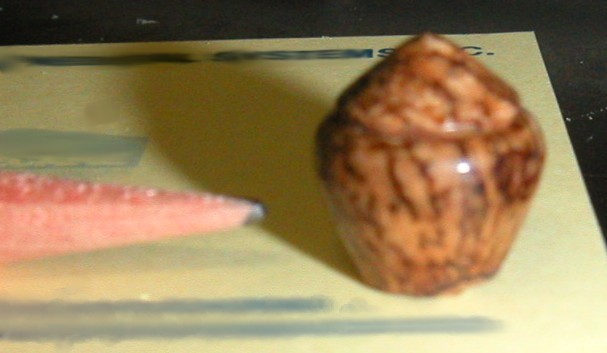
TURNING MINIATURES
By Carey Caires
|
 |
August 10,2003
1. Why turn miniatures?
- More
use of small scraps of expensive and exotic woods
- Less
mess and clean up
- No
large lathe needed
- Less
work space needed to turn
- Less
time needed to turn and sand
- More
pieces can be displayed
- Easier
to pack and ship as gifts
- Easier
to bring to "show & tell"
- Less
expensive tools are used
- If
it fly's off the lathe, there's less bodily harm
- Miniatures
naturally lend themselves to arrangements such my bottle stoppers
2. Subject matter for miniatures
- Most
anything that can be turned full size can be turned in miniature
- Some
items such as an olive need to be turned in miniature
3. Wood selection
·
Woods that are not suitable for small turnings
·
Suitable woods for small to miniature turnings
-
Very
small or no visible grain
-
Tiny
Birdseye, close spalting (such as Ebony), African blackwood, Boxwood, and
mini Cherry Burl
4. Alternate materials
-
Palm
nuts, Tagua, Etc.
-
Bone
-
Plastics and Corian
5. Holding your work
- Long
nose jaws for chuck
- Drill
chuck
- Glue
block
6. Tools for miniature turning
- Crown Tools and Robert Sorby (both sell miniature sets)
- Hand made tools made from dental tools, concrete nails, Allen wrenches,
and files (Caution hand made tools can shatter)
- Magnifying light, mini-clamps, tweezers, tooth picks (for gauging depth,
sanding, &to clean friction polish build up out of grooves)
7. Turning the items
- Speed; turn at 1240 RPM
-
Roughing; rough out with 3/8"spindle or bowl gouge
-
Scale; most miniatures are 1/12 scale (Note 1/16" on
a full size turning is nearly invisible, but on a miniature it is the whole
turning.)
-
Shape; concentrate on shape, not grain pattern
-
Sandpaper; use (if necessary) sandpaper to refine shape
as turning tools may make the miniature flex
-
Tools; modify as required
-
Finger; use your finger as a steady rest
-
Last Pass Cut; use caution, this pass may be your last
8. Sanding and Finishing
- Start
with 180 grit or higher and work up to 800 grit
- Wrap
strips of sandpaper around a tooth pick to get into small diameters
- Support
work while sanding with your finger
- Finish
with friction polish or wax on the lathe
- Use
a Q-Tip or "Eye-Tees" to get polish or wax into small diameters
- Spray
lacquer; attach the miniature to a pencil or dowel with "StickTac".
Insert the pencil or dowel into block of floral foam.
9. Safety
You have
to get very close to the work. Usual precautions (face shield, no loose
clothing). I wear a face shield and do not recommend safety glasses alone. (You
don't want a mini candlestick stuck in your cheek.)

